PHOTO · TO · MASTERPIECE
A casual snapshot,
a frame-worthy painting
Upload a landscape photo from your phone and AI will repaint it in one of eight styles — oil painting, ink wash, pencil sketch, watercolor and more. Download in high resolution, print it, frame it, hang it on your wall.
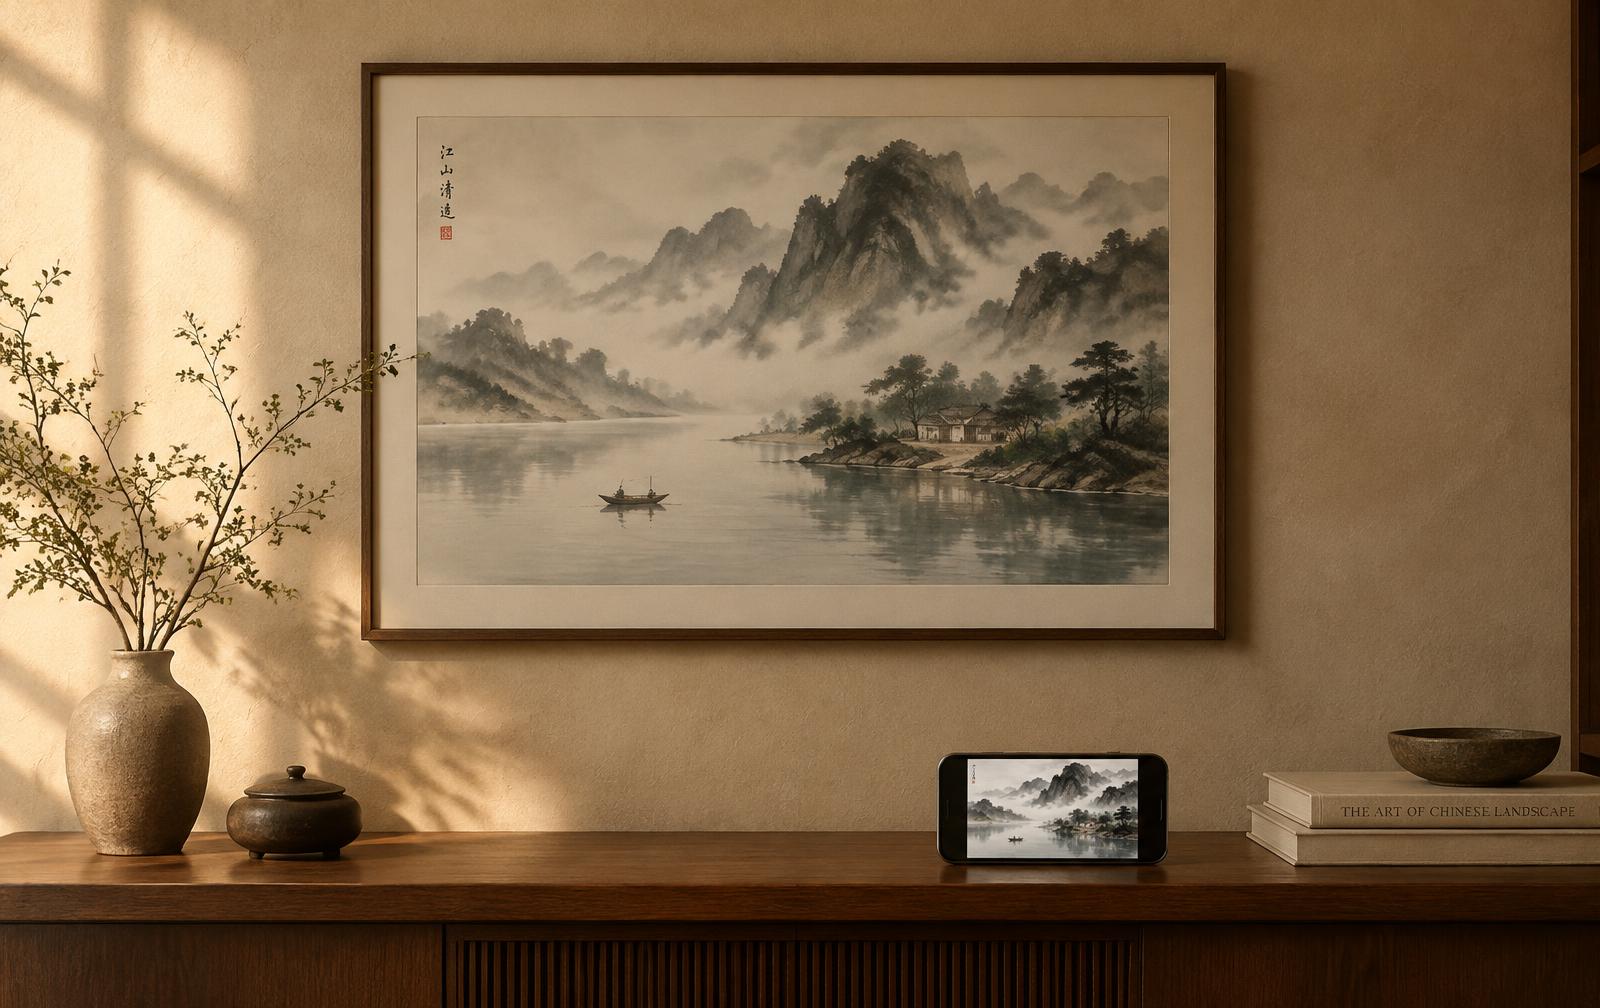
The Studio
Three steps: upload a photo · pick a style · create your artwork
1. Your Photo
2. Choose a Style
Print Size (cm)
Framing Guide
- 24 × 30 cm — Desk & Shelf
- Standard tabletop frame with a 3–5 cm mat; glass front. Ideal for desks, shelves and gallery-wall clusters.
- Budget ≈ $25–45 · frame with glass $15–30, mat board $5–10, mounting tape & hooks $3–5
Tools, adhesives & hanging tips
- Cutting kit
OLFA utility knife for outside edges, a metal ruler and a cutting mat larger than the mat board. For the window, use a purpose-made bevel mat cutter such as Logan 4000, or order a pre-cut mat.
- Adhesive & mounting
For replaceable paper prints, consider Lineco Neutral pH Adhesive with suitable paper hinges; test on scrap of the same paper first. Use only a small amount on hinges, never over the image or across the full back. Non-adhesive photo corners are an alternative if the mat hides them and they suit the paper thickness.
Avoid household glue, hot glue and double-sided tape on the print. Moisture-sensitive inkjet paper or valuable artwork should be mounted by a professional; pH-neutral does not mean universally reversible or safe.
- Fittings & installation
A screwdriver and the frame’s supplied stand or rated wall hanger are usually enough; add a small level for wall display.
A tabletop frame needs a stable stand on a level shelf. For wall display, use its rated hanger; never hang it from the stand.
Brand examples, not required purchases. Check the exact model, paper compatibility and manufacturer instructions. Tool purchases are additional to the material budget above; never infer a hanger’s load rating from print size.
- Cutting kit
- 30 × 40 cm — The Classic
- The most versatile wall size. Slim wood or metal frame with a 5 cm mat, or float-mounted without glass for a canvas look.
- Budget ≈ $40–75 · slim wood/metal frame $25–50, mat board $8–15, backing & hanging hardware $5–10
Tools, adhesives & hanging tips
- Cutting kit
OLFA utility knife for outside edges; a guided bevel mat cutter, such as Logan 4000 with a compatible guide rail, for straight windows. Check that the rail and cutting mat accommodate the mat’s full outside dimensions.
- Adhesive & mounting
For replaceable paper prints, consider Lineco Neutral pH Adhesive with suitable paper hinges; test on scrap of the same paper first. Use only a small amount on hinges, never over the image or across the full back. Non-adhesive photo corners are an alternative if the mat hides them and they suit the paper thickness.
Avoid household glue, hot glue and double-sided tape on the print. Moisture-sensitive inkjet paper or valuable artwork should be mounted by a professional; pH-neutral does not mean universally reversible or safe.
- Fittings & installation
Prepare compatible D-rings or metal-frame fittings, manufacturer-approved screws, a screwdriver and a level. Choose wall anchors for the actual assembled weight and wall material.
For a slim wooden frame, check that the rails are thick enough for screws. Two D-rings on two level wall fixings help keep it straight; use wire only when the fittings are designed for it.
Brand examples, not required purchases. Check the exact model, paper compatibility and manufacturer instructions. Tool purchases are additional to the material budget above; never infer a hanger’s load rating from print size.
- Cutting kit
- 40 × 50 cm — Statement Piece
- A focal point for living rooms and hallways. Wide solid-wood frame with a 6–8 cm mat, or gallery-wrapped canvas with no frame at all.
- Budget ≈ $70–135 · solid-wood frame $50–100 (or canvas wrap $40–70), mat board $12–20, heavy-duty hardware $8–15
Tools, adhesives & hanging tips
- Cutting kit
A large cutting mat, a non-slip metal straightedge and a guided bevel cutter with enough cutting length for the outer mat—not just the print. If your work surface or guide is too short, have a framing shop cut the mat.
- Adhesive & mounting
For replaceable paper prints, consider Lineco Neutral pH Adhesive with suitable paper hinges; test on scrap of the same paper first. Use only a small amount on hinges, never over the image or across the full back. Non-adhesive photo corners are an alternative if the mat hides them and they suit the paper thickness.
Avoid household glue, hot glue and double-sided tape on the print. Moisture-sensitive inkjet paper or valuable artwork should be mounted by a professional; pH-neutral does not mean universally reversible or safe.
- Fittings & installation
Prepare two compatible rated fittings, suitable wall anchors, a level and a cable/pipe detector before drilling. Consider acrylic glazing to reduce weight and ask someone to help lift the frame.
A larger glazed frame can be heavy: consider acrylic glazing, use two rated fixing points and get help lifting it. Ask a professional if the frame or wall strength is uncertain.
Brand examples, not required purchases. Check the exact model, paper compatibility and manufacturer instructions. Tool purchases are additional to the material budget above; never infer a hanger’s load rating from print size.
- Cutting kit
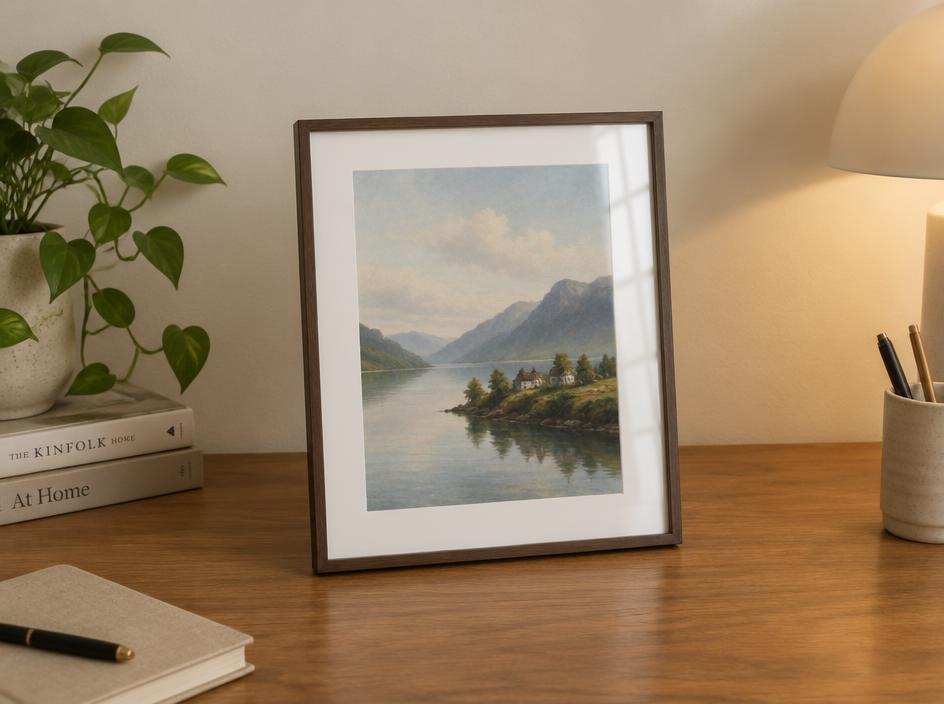
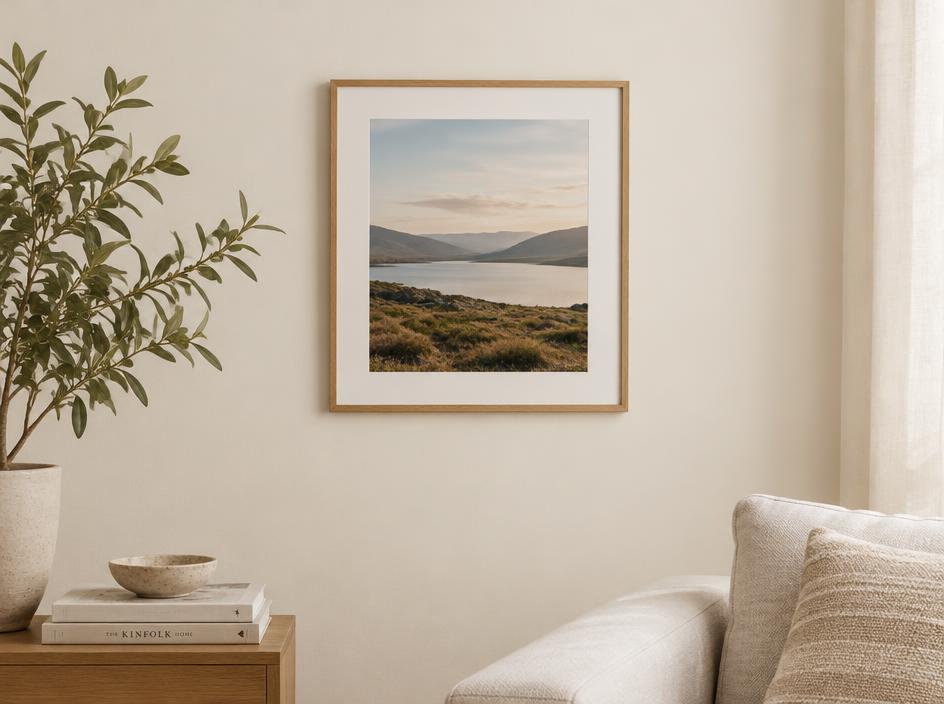
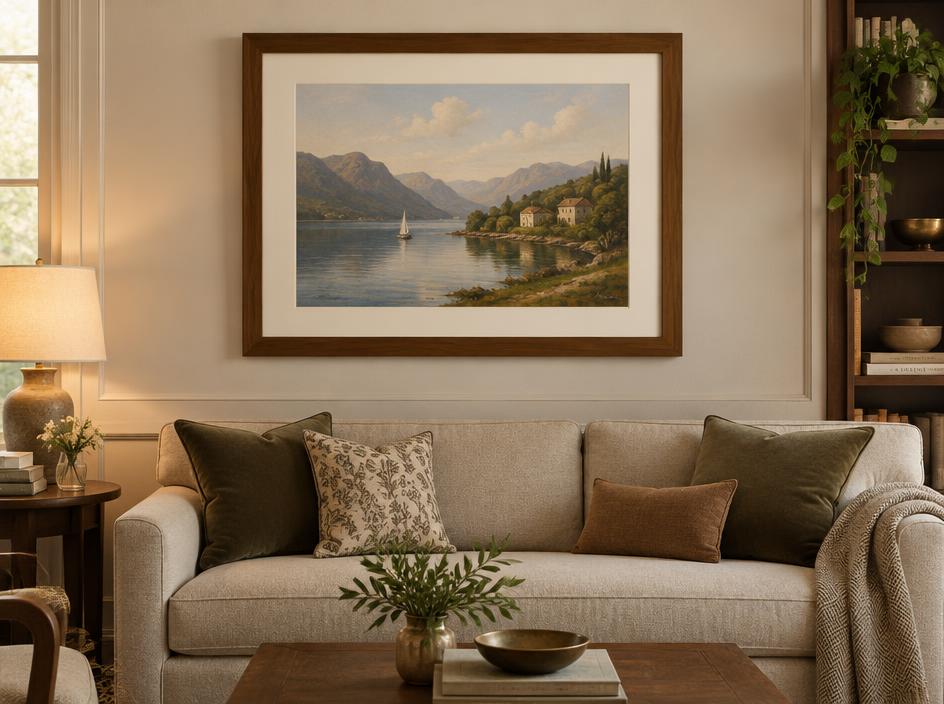
Tip: a white or off-white mat suits every style; pair Ink Wash and Woodcut with dark wood frames, and Oil or Impressionism with warm gold or walnut. Prices are rough retail estimates — a local framing shop will charge more but handles everything for you.
Step-by-step framing instructions →30 × 24 cm · 30:24
Center-cropped · frame not included in download